


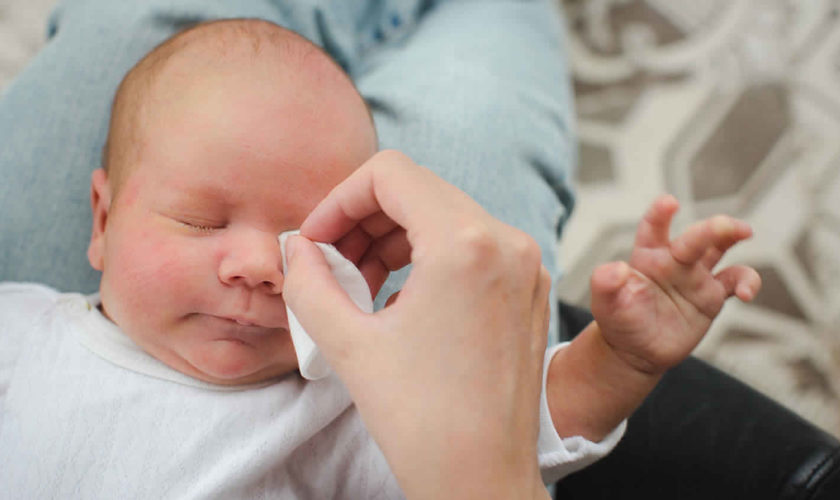
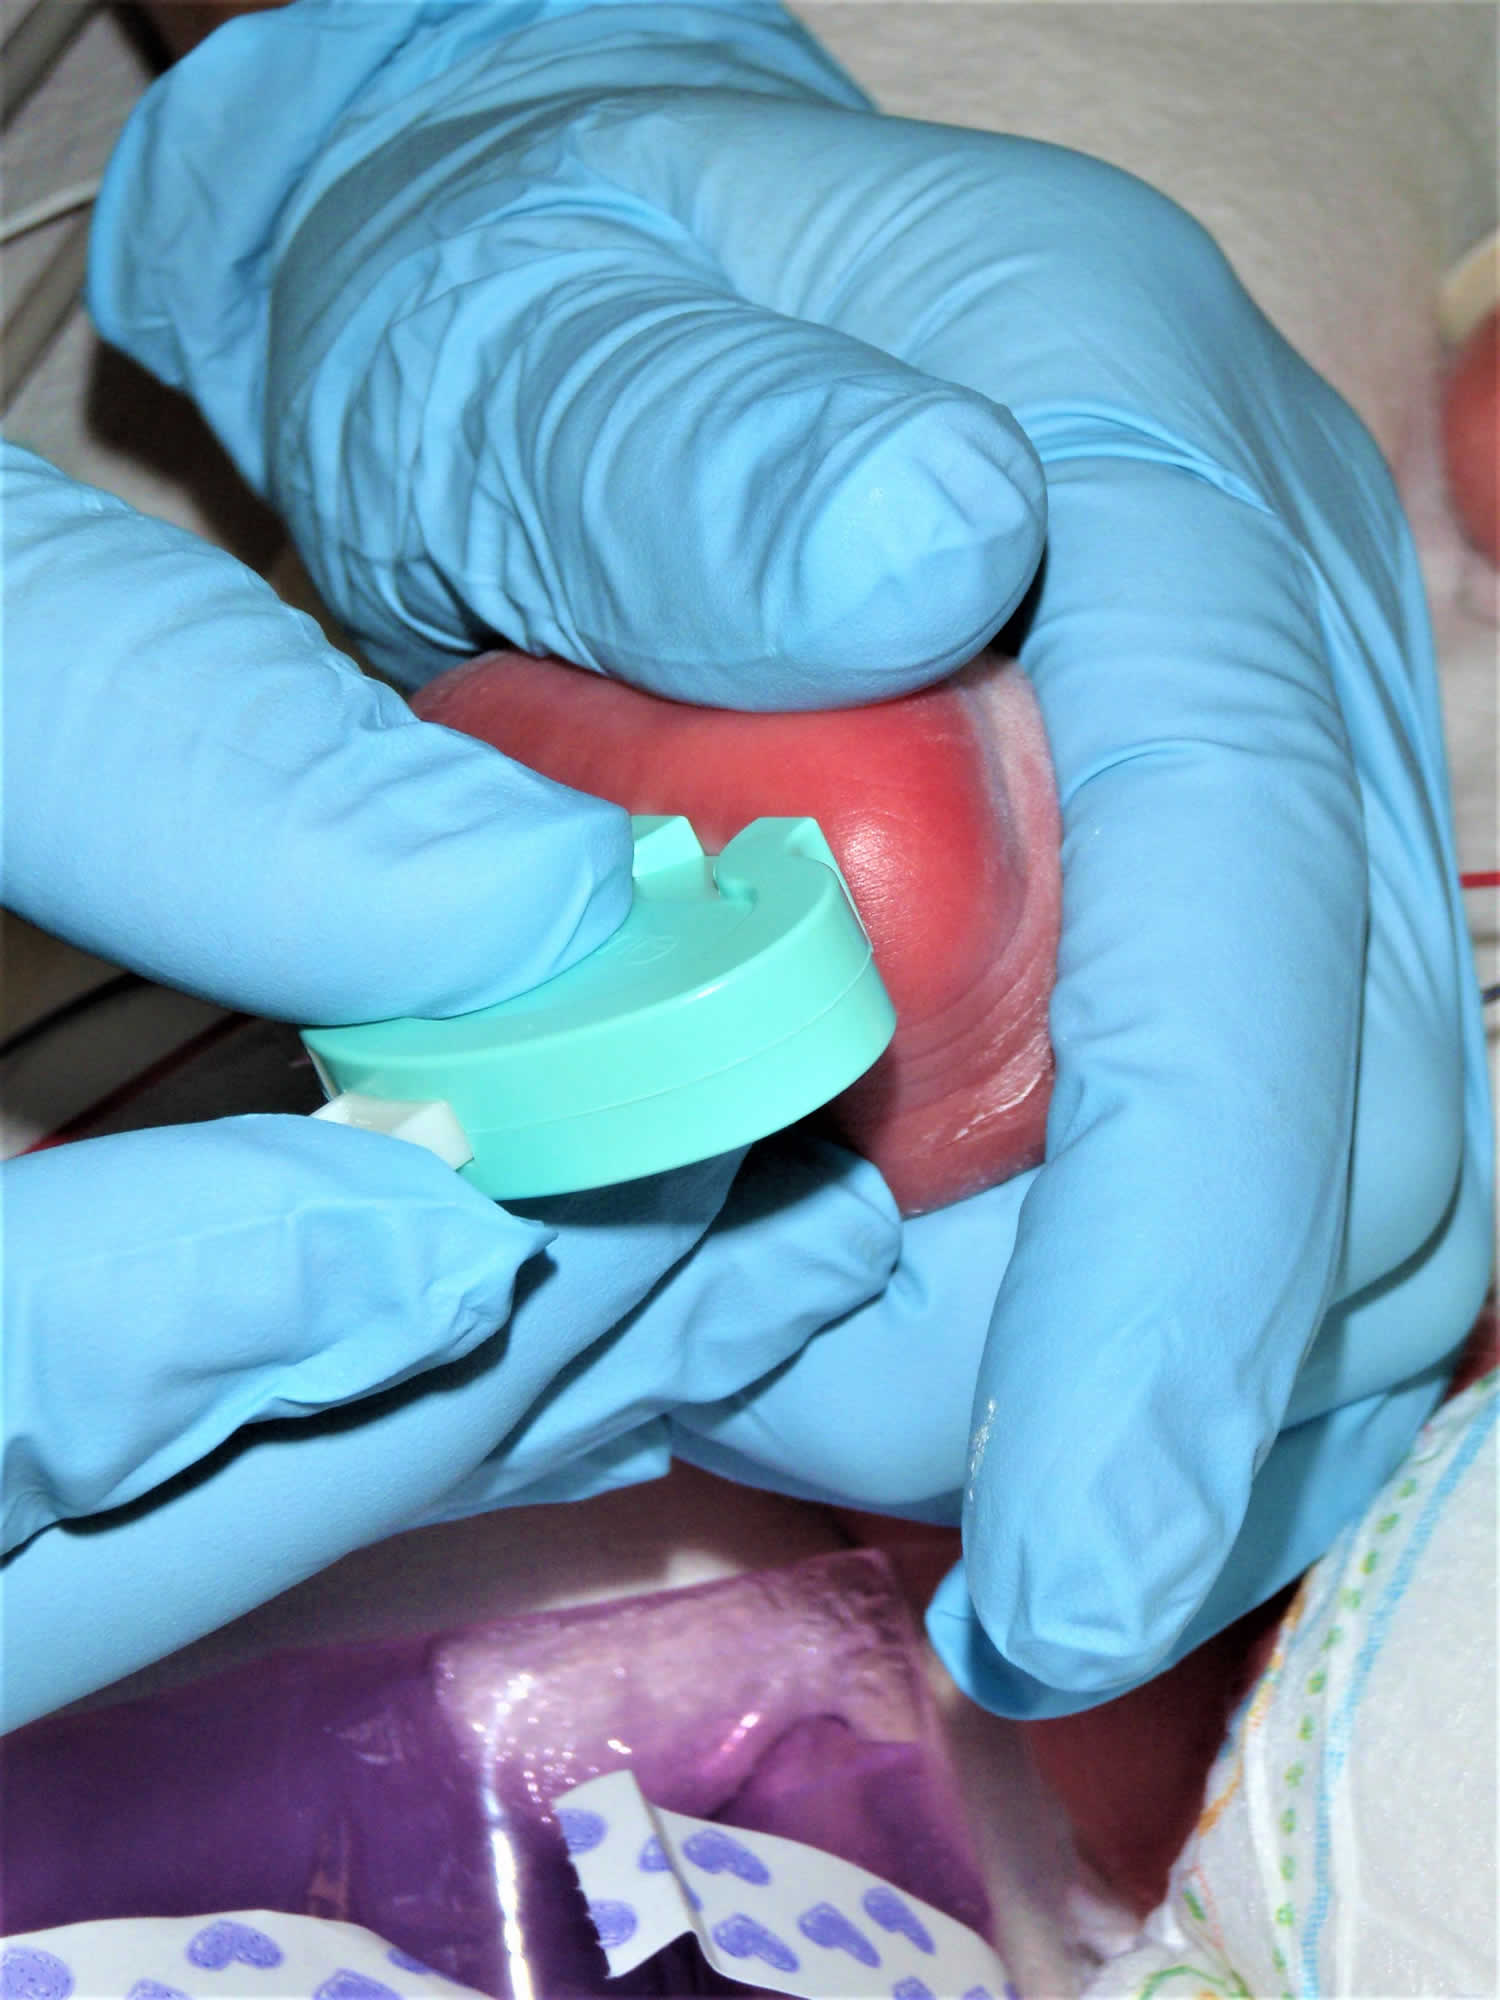
How to clean baby ears
The inside of your baby’s ear doesn’t need to be cleaned because earwax is the cleaner. You can clean your baby’s eyes, ears and nose when you’re bathing him. Warm water is all you need. Avoid using soap because your baby’s skin is sensitive, and soap can dry it out. Get some cotton balls. Soak one cotton ball in some warm water. Wipe behind your baby’s ears and around the outside of each ear. Be careful not to stick anything (including cotton buds) inside her ear, because it’s very easy to cause damage.
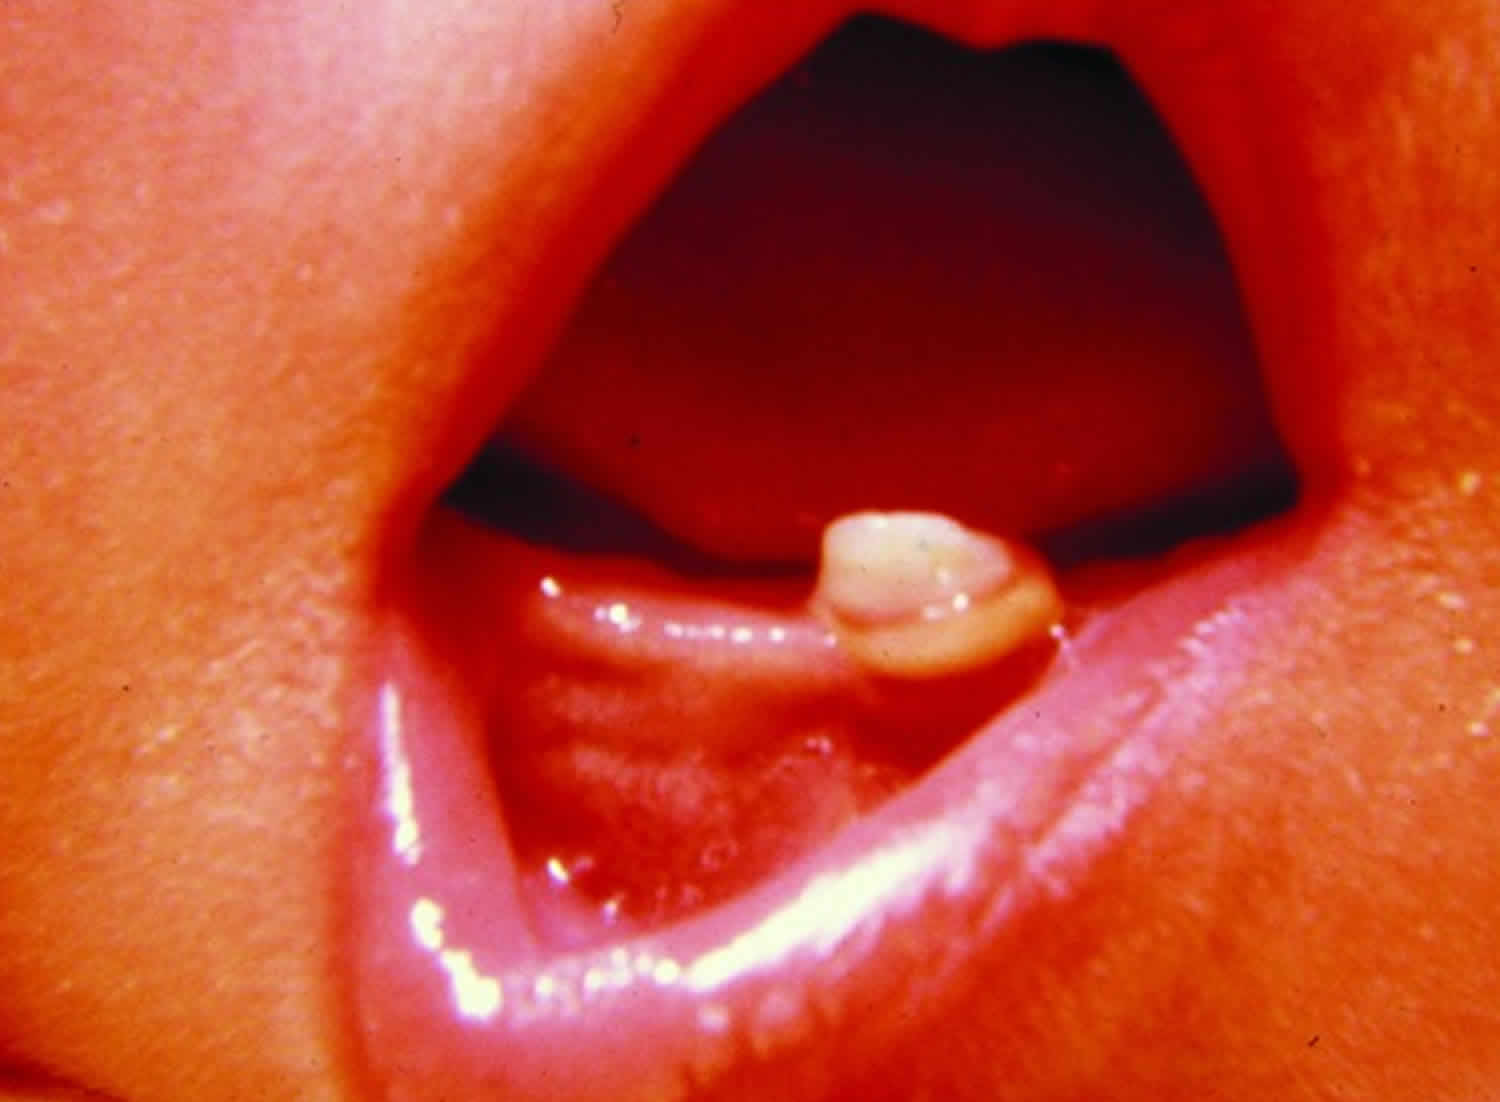
Earwax also known as cerumen, is secreted by glands in the skin that lines the outer half of your ear canal. Earwax contains enzymes that help prevent bacteria and fungus from growing in the ear. Earwax creates a barrier to protect the ear canal from water from traveling deeper into your ear canal. The earwax and tiny hairs in these passages also trap dust and dirt particles that enter the ear which could damage deeper structures, such as your eardrum. Earwax normally regulates itself by migrating from the inside of the ear canal to the outside (to the opening of the ear) on its own, where it’s washed away or falls out as new wax is secreted to replace it. If you secrete an excessive amount of wax or if earwax isn’t cleared effectively, it may build up and block your ear canal. Earwax blockages commonly occur when people try to clean their ears on their own by placing cotton swabs or other items in their ears. This often just pushes wax deeper into the ear, rather than removing it. Earwax only needs to be removed from the ear for two reasons:
- When a doctor needs to move ear wax out of the way to see the eardrum
- When it is so tightly packed and is compromising hearing
Do not put anything inside your child’s ear canal this includes cotton swabs. Soft objects even like cotton swamps can puncture an ear drum. You can also push wax further toward the eardrum, causing it to clump together and block hearing.
Your body already has a way to deal with earwax it no longer needs. Chewing, other jaw movements, and skin growing inside your ear will push old earwax out naturally. Using cotton swabs, however, can push the wax deeper into your ear canal. You might also seriously damage sensitive ear canal skin or your eardrum.
Earwax buildup is not very common. According to the American Academy of Otolaryngology—Head and Neck Surgery 1), just 1 in 10 children and 1 in 20 adults have this problem. Some people may be more susceptible to earwax build up. About 3 in 10 elderly adults and developmentally disabled adults might have more of a problem with earwax.
Impacted earwax can cause symptoms like ear pain, itching, feeling of fullness in the ear, ringing in the ear (tinnitus), hearing loss, discharge coming from the ear, odor coming from the ear, cough, and/or change in hearing aid function.
Signs of too much earwax or earwax that is stuck and blocking the ear canal include:
- Earache or itching in the affected ear
- A feeling that your ear is full
- Ringing or noises in the ear (tinnitus)
- Decreased hearing in the affected ear or hearing loss (or a change in how well hearing aids work, for those who use them)
- Odor or discharge
- Dizziness
- Cough
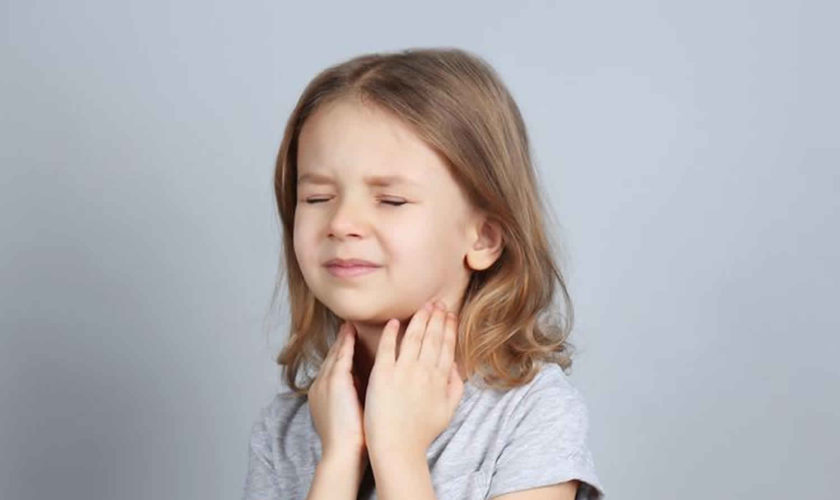
If you or your child have any of these symptoms, see a doctor.
If you’re experiencing the signs and symptoms of earwax blockage, talk to your doctor.
Signs and symptoms could indicate another condition. You may think you can deal with earwax on your own, but there’s no way to know if you have excessive earwax without having someone, usually your doctor, look in your ears. Having signs and symptoms, such as earache or decreased hearing, doesn’t necessarily mean you have wax buildup. It’s possible you have another medical condition involving your ears that may need attention.
Wax removal is most safely done by a doctor. Your ear canal and eardrum are delicate and can be damaged easily by excess earwax. Don’t try to remove earwax yourself with any device placed into your ear canal, especially if you have had ear surgery, have a hole (perforation) in your eardrum, or are having ear pain or drainage.
Children usually have their ears checked as part of any medical examination. If necessary, a doctor can remove excess earwax from your child’s ear during an office visit.
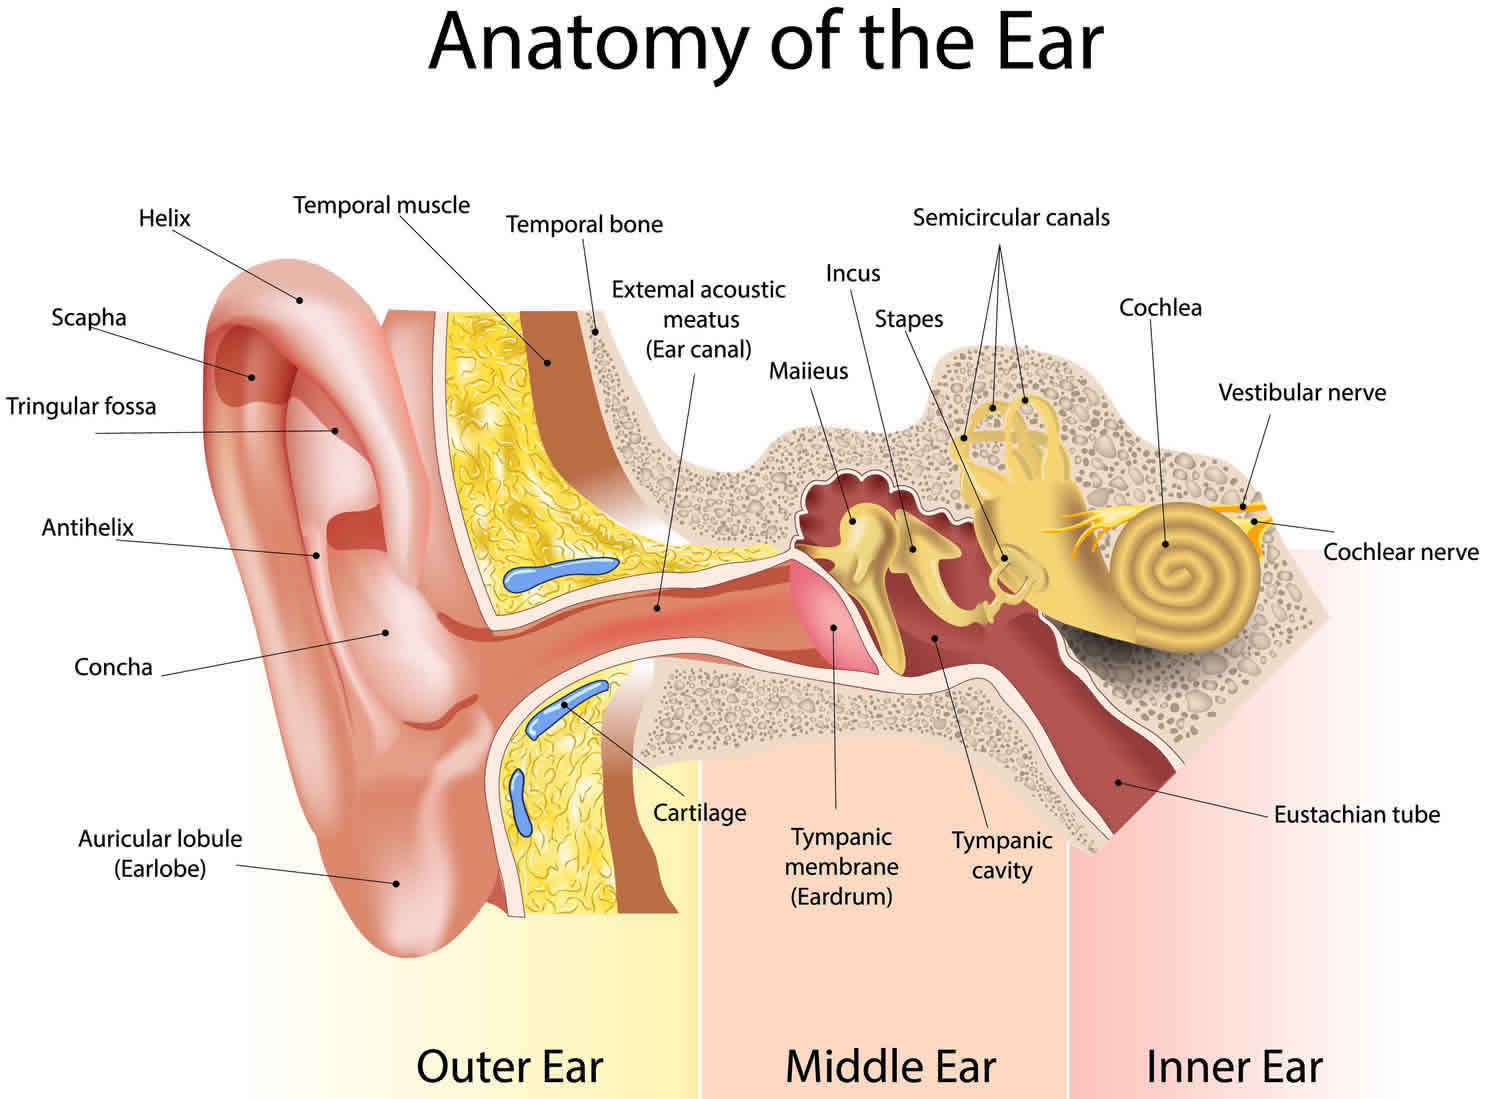
Ear anatomy
Before you dive in to how to properly care for your child’s ears, it helps to know how the ear is constructed. Ears are divided into three main parts:
- Outer ear, which is the fleshy external part made of cartilage also called the pinna that you can see. This includes the ear canal (external acoustic meatus) inside that leads up to the eardrum (tympanic membrane) and is responsible for directing sound to the middle ear. When people talk about cleaning the ears, they are referring to the pinna as well as the ear canal (external acoustic meatus).
- Middle ear, which is composed of the eardrum (tympanic membrane) that creates vibrations, which will be transmitted into sound.
- Inner ear, which is responsible for converting vibrations from the middle ear into nerve impulses that are sent to the brain and allow you to hear sound. The inner ear also regulates your balance.
Figure 1. Ear anatomy
How to remove earwax in toddlers
Here are helpful tips to use when it comes time clean your child’s ears at home.
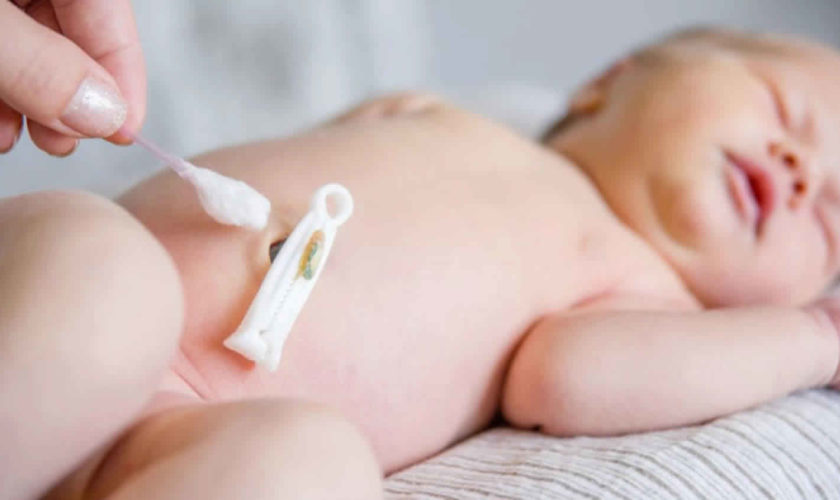
- Use a cloth or tissue to wipe away any wax that has migrated out of the ear canal.
- If your child’s eardrum doesn’t contain a tube or have a hole in it, these self-care measures may help you remove excess earwax that’s blocking your ear canal:
- Soften the wax. Use an eyedropper to apply a few drops of baby oil, mineral oil, glycerin or hydrogen peroxide in your ear canal.
- Use warm water. After a day or two, when the wax is softened, use a rubber-bulb syringe to gently squirt warm water into your ear canal. Tilt your head and pull your outer ear up and back to straighten your ear canal. When finished irrigating, tip your head to the side to let the water drain out.
- Dry your ear canal. When finished, gently dry your outer ear with a towel or hand-held dryer.
- NOTE: You may need to repeat this wax-softening and irrigation procedure a few times before the excess earwax falls out. However, the softening agents may only loosen the outer layer of the wax and cause it to lodge deeper in the ear canal or against the eardrum. If your symptoms don’t improve after a few treatments, see your doctor.
- To dry ears after a bath or a shower, instruct your child tilt their ear to one side against a towel, and then tilt their head to the other, allowing water to drip out on its own.
- Unfortunately kids sometimes put little things in their ear canals such as beads, beans, little toys or even play dough. Never put anything in your child’s ear canal to remove a foreign body. Removal should only be attempted by a professional with the proper equipment such as your child’s pediatrician or a pediatric ear, nose, and throat (ENT) specialist. It’s good to have a conversation with young children about never putting anything inside their ears.
- Remind your preteen or teenager to clean behind their ears with soap and warm water to remove oil and dirt that can cause acne back there.
- If you think too much ear wax is causing your child to have difficulty hearing, discuss this with your child’s pediatrician or a pediatric ENT. There are over the counter products available to dissolve wax but it is best to discuss what is best with your child’s doctor.
- Refrain from using cotton swabs in your own ears, particularly in front of your child. Kids like to mimic what parents (and other adults) do and you certainly don’t want to teach your child that it is okay to put anything in their ear or a sibling’s ear.
Don’t try to dig it out
Never attempt to dig out excessive or hardened earwax with available items, such as a paper clip, a cotton swab or a hairpin. You may push the wax farther into your ear and cause serious damage to the lining of your ear canal or eardrum.
Earwax removal kits available in stores also can be effective at removing wax buildup. Ask your doctor for advice on how to properly select and use alternative earwax removal methods.
There is an old saying that goes, “Never put anything smaller than your elbow inside your ear or your child’s.” It’s obvious this is an impossible action in itself, but the saying makes sense because you don’t want to cause ear wax build up or damage in your child’s ears. If you know of parents that use cotton swabs as part of their ear hygiene for their family, forward this blog post to them. Let’s keep ears clean and healthy.
How doctors remove excess earwax
Your doctor can remove excess wax using a small, curved instrument called a curet or by using suction while inspecting the ear. Your doctor can also flush out the wax using a water pick or a rubber-bulb syringe filled with warm water.
If earwax buildup is a recurring problem, your doctor may recommend that you use a wax-removal medication, such as carbamide peroxide (Debrox Earwax Removal Kit, Murine Ear Wax Removal System). Because these drops can irritate the delicate skin of the eardrum and ear canal, use them only as directed.
References [ + ]


